Are You Worried About Your Teen’s Eating Habits?

Pinterest is pretty awesome. I love looking at the beautiful pictures of gardens and homes, crafts and cupcakes. I’ve even gotten a few useful tips and recipes for feeding my kids – particularly when they were younger.  But now that they’re getting older and they aren’t so into the cutesy butterflies made out of watermelon; and they aren’t impressed when I make smiley faces out of bananas and oranges on their morning pancakes – it’s not nearly as useful to me.

In fact, my tween and teen aren’t impressed by much that I do. And sadly, Pinterest – and society in general – has kind of left me out in the cold when it comes to helping my older kids make healthy choices when it comes to food. So, I recently offered some tips for helping older kids navigate the world of food choices over at Produce for Kids.

Check it out:

Power Your Lunchbox – Hearty Snack Time

screen-shot-2017-01-13-at-12-03-12-pm

I’m thrilled to be continuing my work with Produce for Kids this year.  If you don’t know about the organization, they are an awesome group of folks who strive to help kids and families have fun while eating well.  Check it out:

Produce for Kids® believes in creating a healthier generation through cause marketing campaigns that provide easy, fun and inspiring recipes. Produce for Kids has been helping families and children by giving back since 2002. Through produce and grocery retail partner programs, Produce for Kids has donated more than $6 million to charities that benefit children and families nationwide.

One of my favorite things about Produce for Kids are the ideas they have for healthy meals and snacks.  A couple of times a year they focus their efforts in helping families pack healthy lunches.  Take the pledge to power your lunchbox!

screen-shot-2017-01-13-at-12-07-58-pm

I’m going to be honest, in our house we heartily support buying lunch at school.  There are a few reasons for this, not least of which is that it makes the mornings more pleasant – no lunches to pack!  But it still leaves after school snack time to deal with.  As my kids are getting older, the afternoon snack is becoming more important – there is just so much to accomplish in the afternoons before dinnertime. Things like:

  • Homework
  • Piano Lessons
  • Karate
  • Soccer practice
  • Swimming lessons
  • Choir

and really boring things like:

  • Meetings

The other day, we had a full afternoon in the hours between after school and bedtime: homework, piano lessons, soccer practice (2 of them actually), basketball practice  and a parent meeting at school.  On days like these, snacks are particularly important.  I’ve been trying to be better about packing good looking, healthy snacks that will sustain my kids (and me!) until dinnertime – which often ends up being later than I would like.

So while the big kids were at school, my little guy and I tried our hand at homemade hummus.  We used this recipe by the Pioneer Woman (don’t you just love her).  It was super easy, and also delicious because we were able to tweak the ingredients to our taste (more lemon juice, less garlic).

img_8853

Everything is just dumped into the blender and mixed up until smooth

mixer

Put it in an airtight container

serving

And make sure to pack some yummy, healthy things to dip in all that deliciousness!

snack-time

This would also make a good lunch – but hearty, tasty snacks are important too!

Don’t forget to take the pledge to Power Your Lunchbox (or snack box, or whatever!) – Happy snacking!


Power Your Lunchbox

Yea (or, boo! – depending on your perspective) it’s back to school! Regardless of how you and your family feel about this time of year, one thing never changes: everyone has to eat lunch.  I feel quite lucky that all 3 of my kids have become sandwich lovers over the past couple of years, making packing lunches pretty simple.  But all of us need to mix it up from time to time, so today I am teaming up with Produce for Kids to help spread the word about their Power Your Lunchbox campaign:

Screen Shot 2016-08-31 at 11.46.49 AM

Look at all those clever, yummy and healthy lunches!

Please consider taking the pledge! It’s super simple and also helps the organization Feeding America.  Additionally you can be entered to win a bento box from Bentology, and also get some free printable lunch box notes (super cute).

Screen Shot 2016-08-31 at 11.51.01 AM

Ok, let’s get started.  I was lucky enough to get one of these fun bento boxes.  My kids have been itching to get their hands on it for weeks!

7

There’s just something about all those cute little boxes that fit so perfectly inside each other.  I think it makes us all believe when can eat smarter and more creatively!

So when my kids and I discussed what to put in our bento box, they decided they wanted something with their new fave – Greek yogurt.  I thought about making granola to go with it, but decided instead to use up some of the delicious peaches that are in season right now.  I had just seen this Peach Oatmeal Muffin recipe over at Six Sisters Stuff, so we gave it a try:

4 cups of juicy peaches - delicious!

4 cups of juicy peaches – delicious!

We used 1/2 white flour and 1/2 wheat flour:

3

I was concerned that full-sized muffins wouldn’t fit in the bento box, so I made a couple dozen mini-muffins:

4

My little one decided to make some full-sized, Christmas-themed muffins:

5

We may or may not have popped a few in our mouths straight from the oven:

6

Next it was time to fill the box! I put in the vanilla Greek yogurt, then the little guy added some muffins.  I said 2 was plenty, he thought 3 sounded better:

8

We agreed on some strawberries and sliced almonds, but had a difference of opinion on how to fill the last little box.  I thought carrots, he thought cheese sticks.  We compromised and added both:

9

Does that look like a tasty lunch, or what?

10

Chicken Avocado Enchiladas With Produce for Kids

Happy Summer!  School’s been out for exactly one week, and the excitement has just about worn off.  Which means we’re looking for things to do that aren’t: watching TV, playing video games or zoning out on the ipad!

One of my favorite hobbies is cooking.  Luckily,my kids share my interest.  So the other day we decided to try a recipe from this awesome cookbook:

We agreed on the Chicken Avocado Enchiladas, then headed to Costco to pick up the ingredients (or as close to the ingredients as we could get at Costco since I didn’t want to go to the grocery store, too!)

ingredients

I couldn’t find ripe avocados, so I bought this pre-made gauc.  I also have one family member who HATES yogurt, so swapped that for sour cream.

We checked all the steps, then were ready to get started!

getting ready

Another thing I forgot to mention was that I needed A LOT of enchiladas.  I’m trying to stock my own freezer, but also have a new nephew so I wanted to make a tray for that family, as well as another family who is dealing with illness.  So, I bought 2 of those rotisserie chickens at Costco to save time.  Here it is:

chicken

I didn’t get a shot of us shredding the chicken, but I am pleased to say that I didn’t have to do that much.  My girls are now old enough to take over that hideous job. Woohoo! Then we mixed in the goodies:

stuffing

Rolling them up:

rolling 'em up!

Into the tray:

filling

Finished product!

IMG_7113

It was actually a great time to teach a bunch of kitchen lessons:

  • How to substitute ingredients
  • How to shred chicken (yay!)
  • How to double or triple a recipe
  • How to package food up for later consumption (including the importance of writing instructions for cooking on the packaging!)
  • The powerful role food plays in supporting our friends and family

IMG_7119

Ready to go:

give away

Oh! And we also had them for dinner that night.  They were a huge hit.  The sauce (which we served on the side) was amazing, and the chicken was super tasty.  Definitely a keeper!

dinner's ready!

Check out this recipe and many more in Healthy Family Classics.

P.S. We’ve also made One Pot Chicken Lo Mein and Broccoli Tater Tots – all delicious.

Full disclosure: I serve on the Parent Advisory Board for Produce for Kids.  See my articles on mental health and healthy eating on the PFK site.


Nostalgia and Cake: A Match Made in Heaven

This post is part of the Food and Mood series.  Today’s guest is Lisa Jensen. Welcome, Lisa!

I wanted to make a special dessert for dinner with family friends and I was feeling nostalgic for my childhood.  My grandparents immigrated from Denmark and had a bakery.  I grew-up enjoying buttery almond pastries.  I’d never had this cake but it sounded delicious and a bit indulgent.

Screen Shot 2015-11-24 at 10.57.34 AM

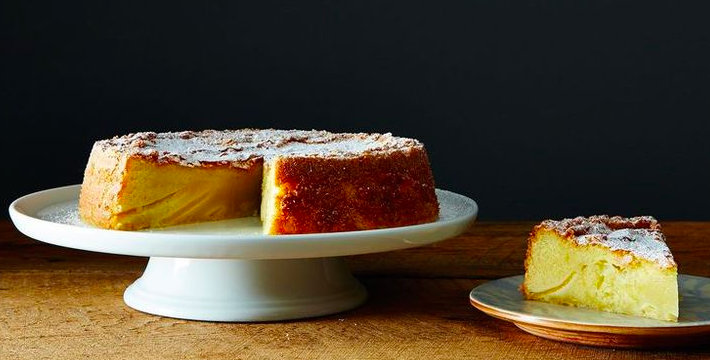
Makes one 9-inch cake

2 to 3 very ripe pears (I used D’Anjou)

1 cup cake flour, divided

1 ½ teaspoons baking powder

¾ teaspoon salt

1 1/3 cups caster or superfine sugar

7 ounces almond paste

1 cup butter, at room temperature and cut into 1-tablespoon cubes

1 teaspoon vanilla extract

1 teaspoon almond extract

6 large eggs, at room temperature

Confectioners sugar, for dusting

Preheat the oven to 325° F. Butter a 9-inch cake pan or springform pan, line the bottom with a circle of parchment paper and butter that, too. Dust the pan with flour and shake off any excess.

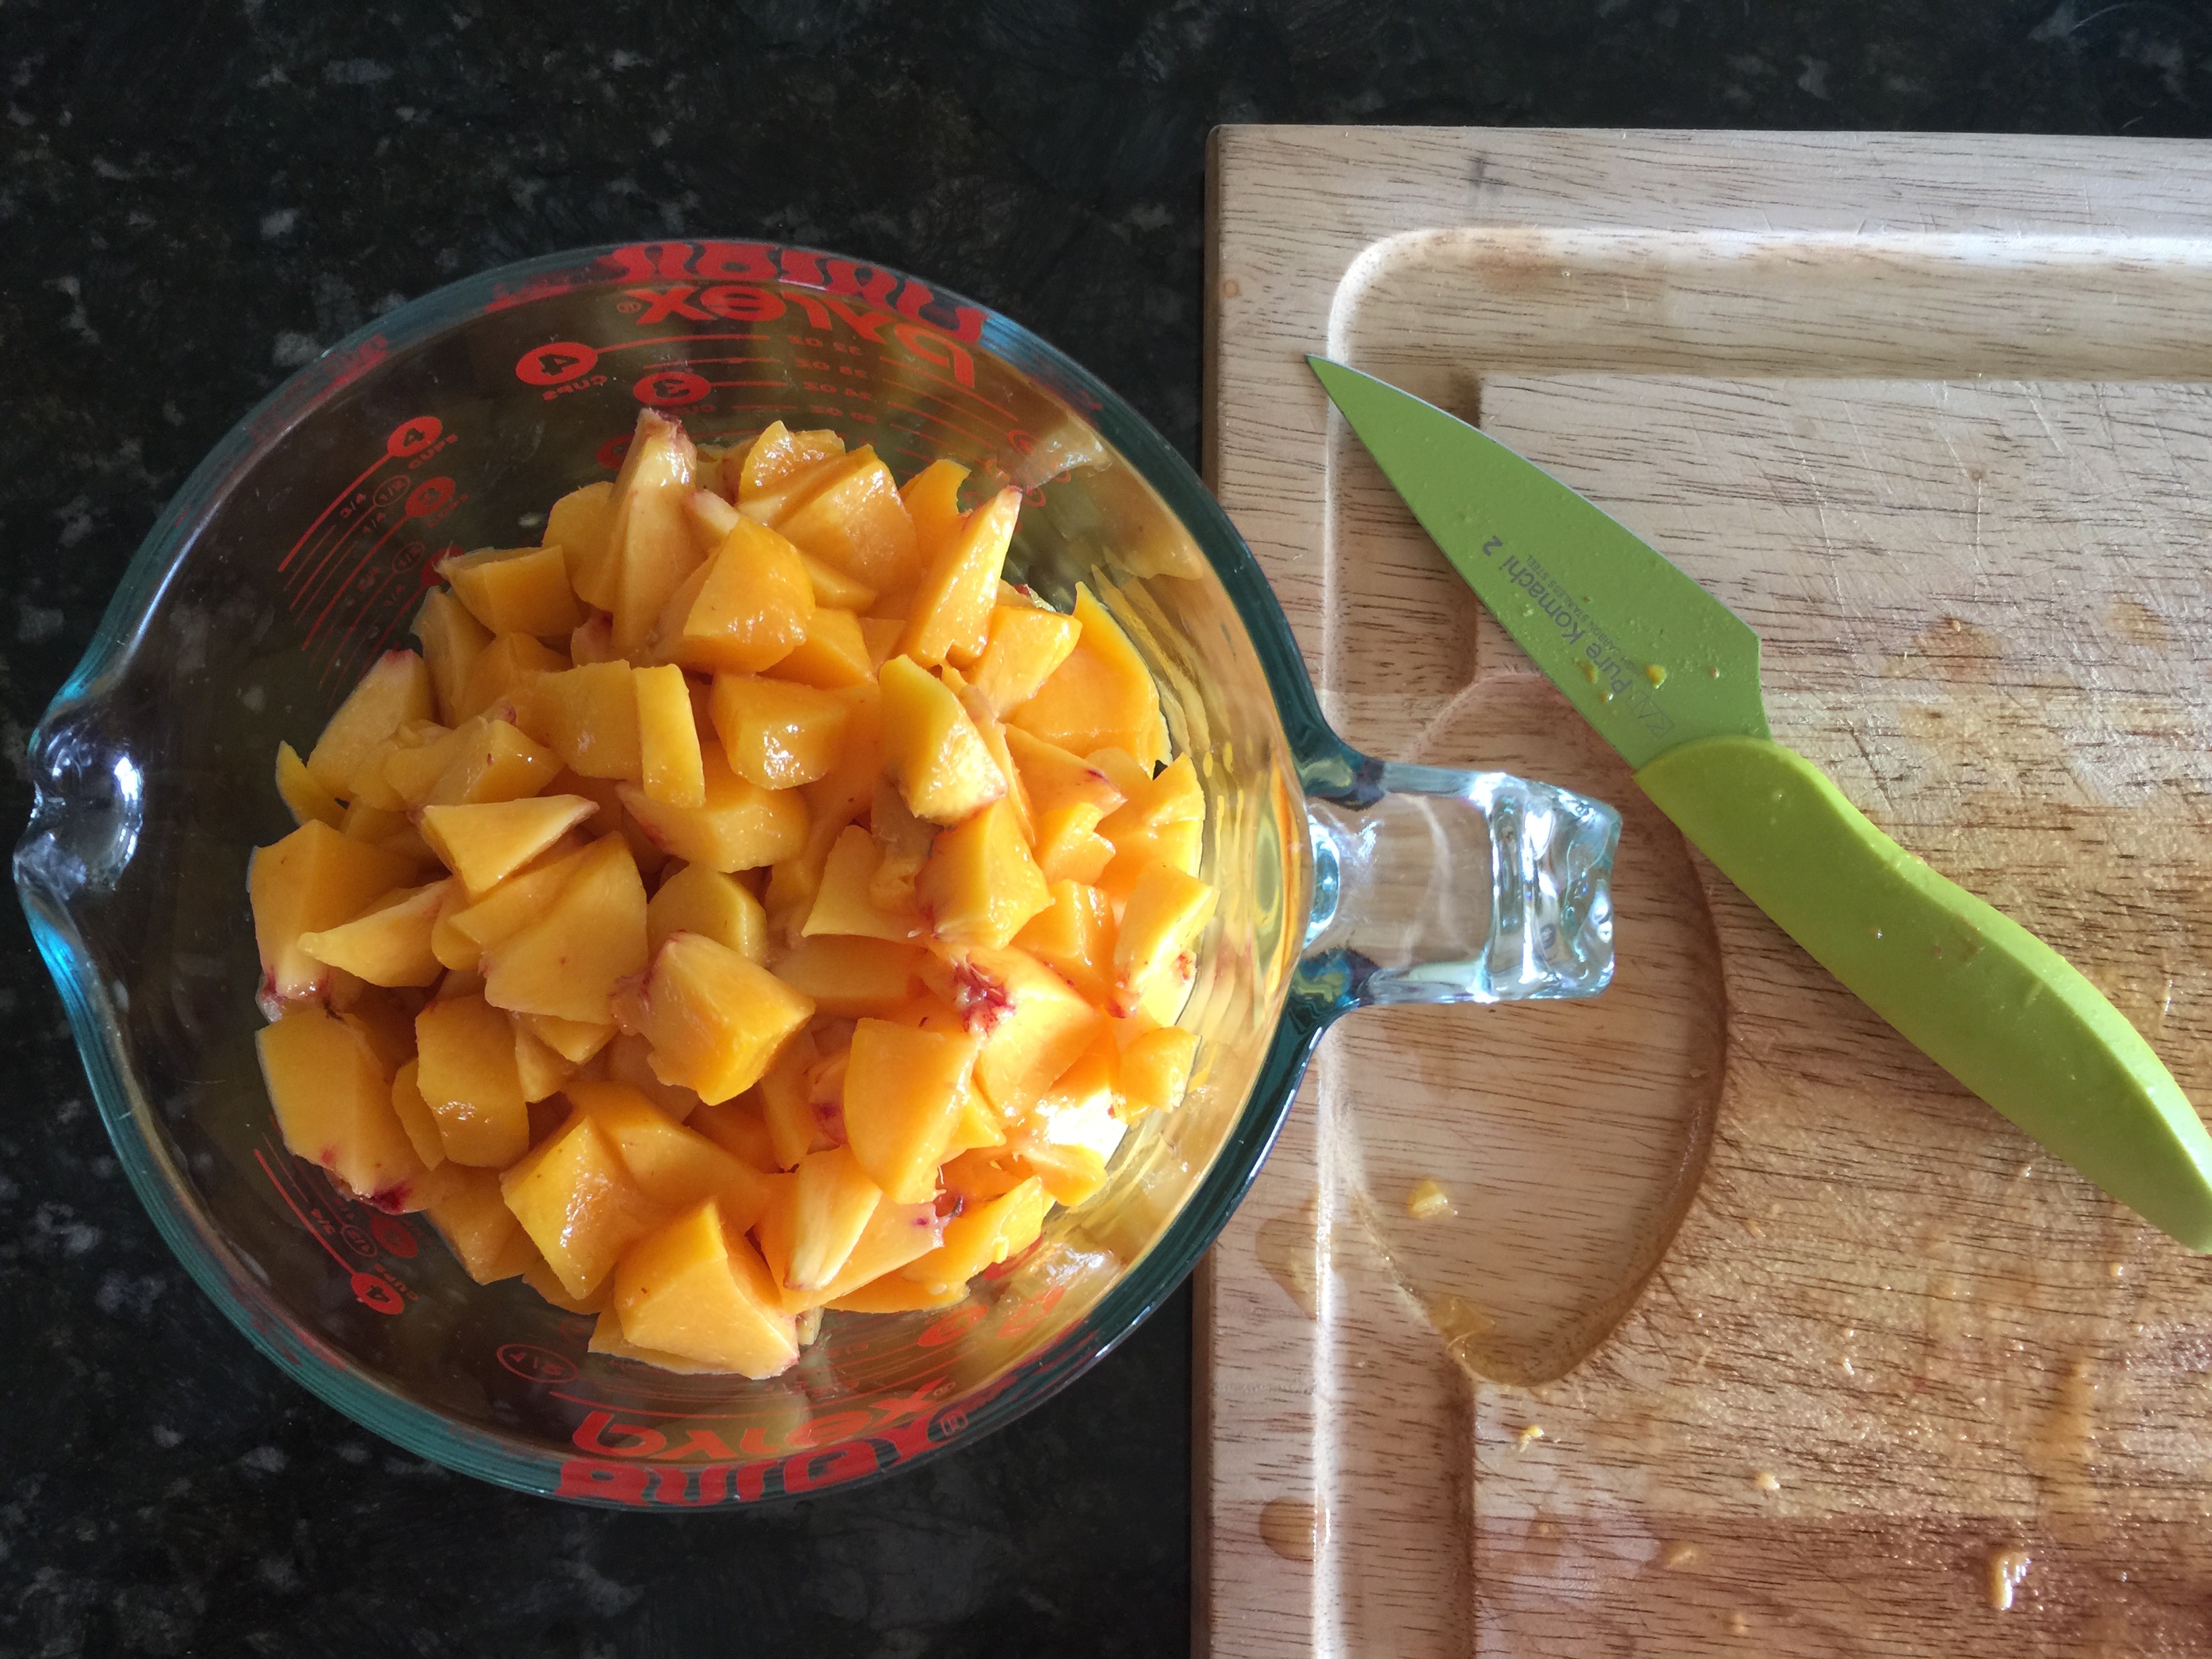
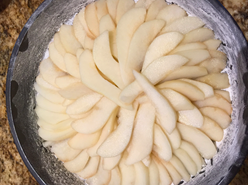
Peel the pears and cut them into very thin slices from stem to bottom. Starting at the outside perimeter of the pan, place the pear slices in tight concentric circles until you’ve covered the pan’s bottom.

Screen Shot 2015-11-24 at 10.58.53 AM

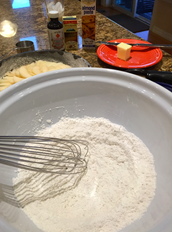
In a small bowl, whisk together 3/4 cup of cake flour, the baking powder, and the salt. Set aside.

Screen Shot 2015-11-24 at 10.59.41 AM

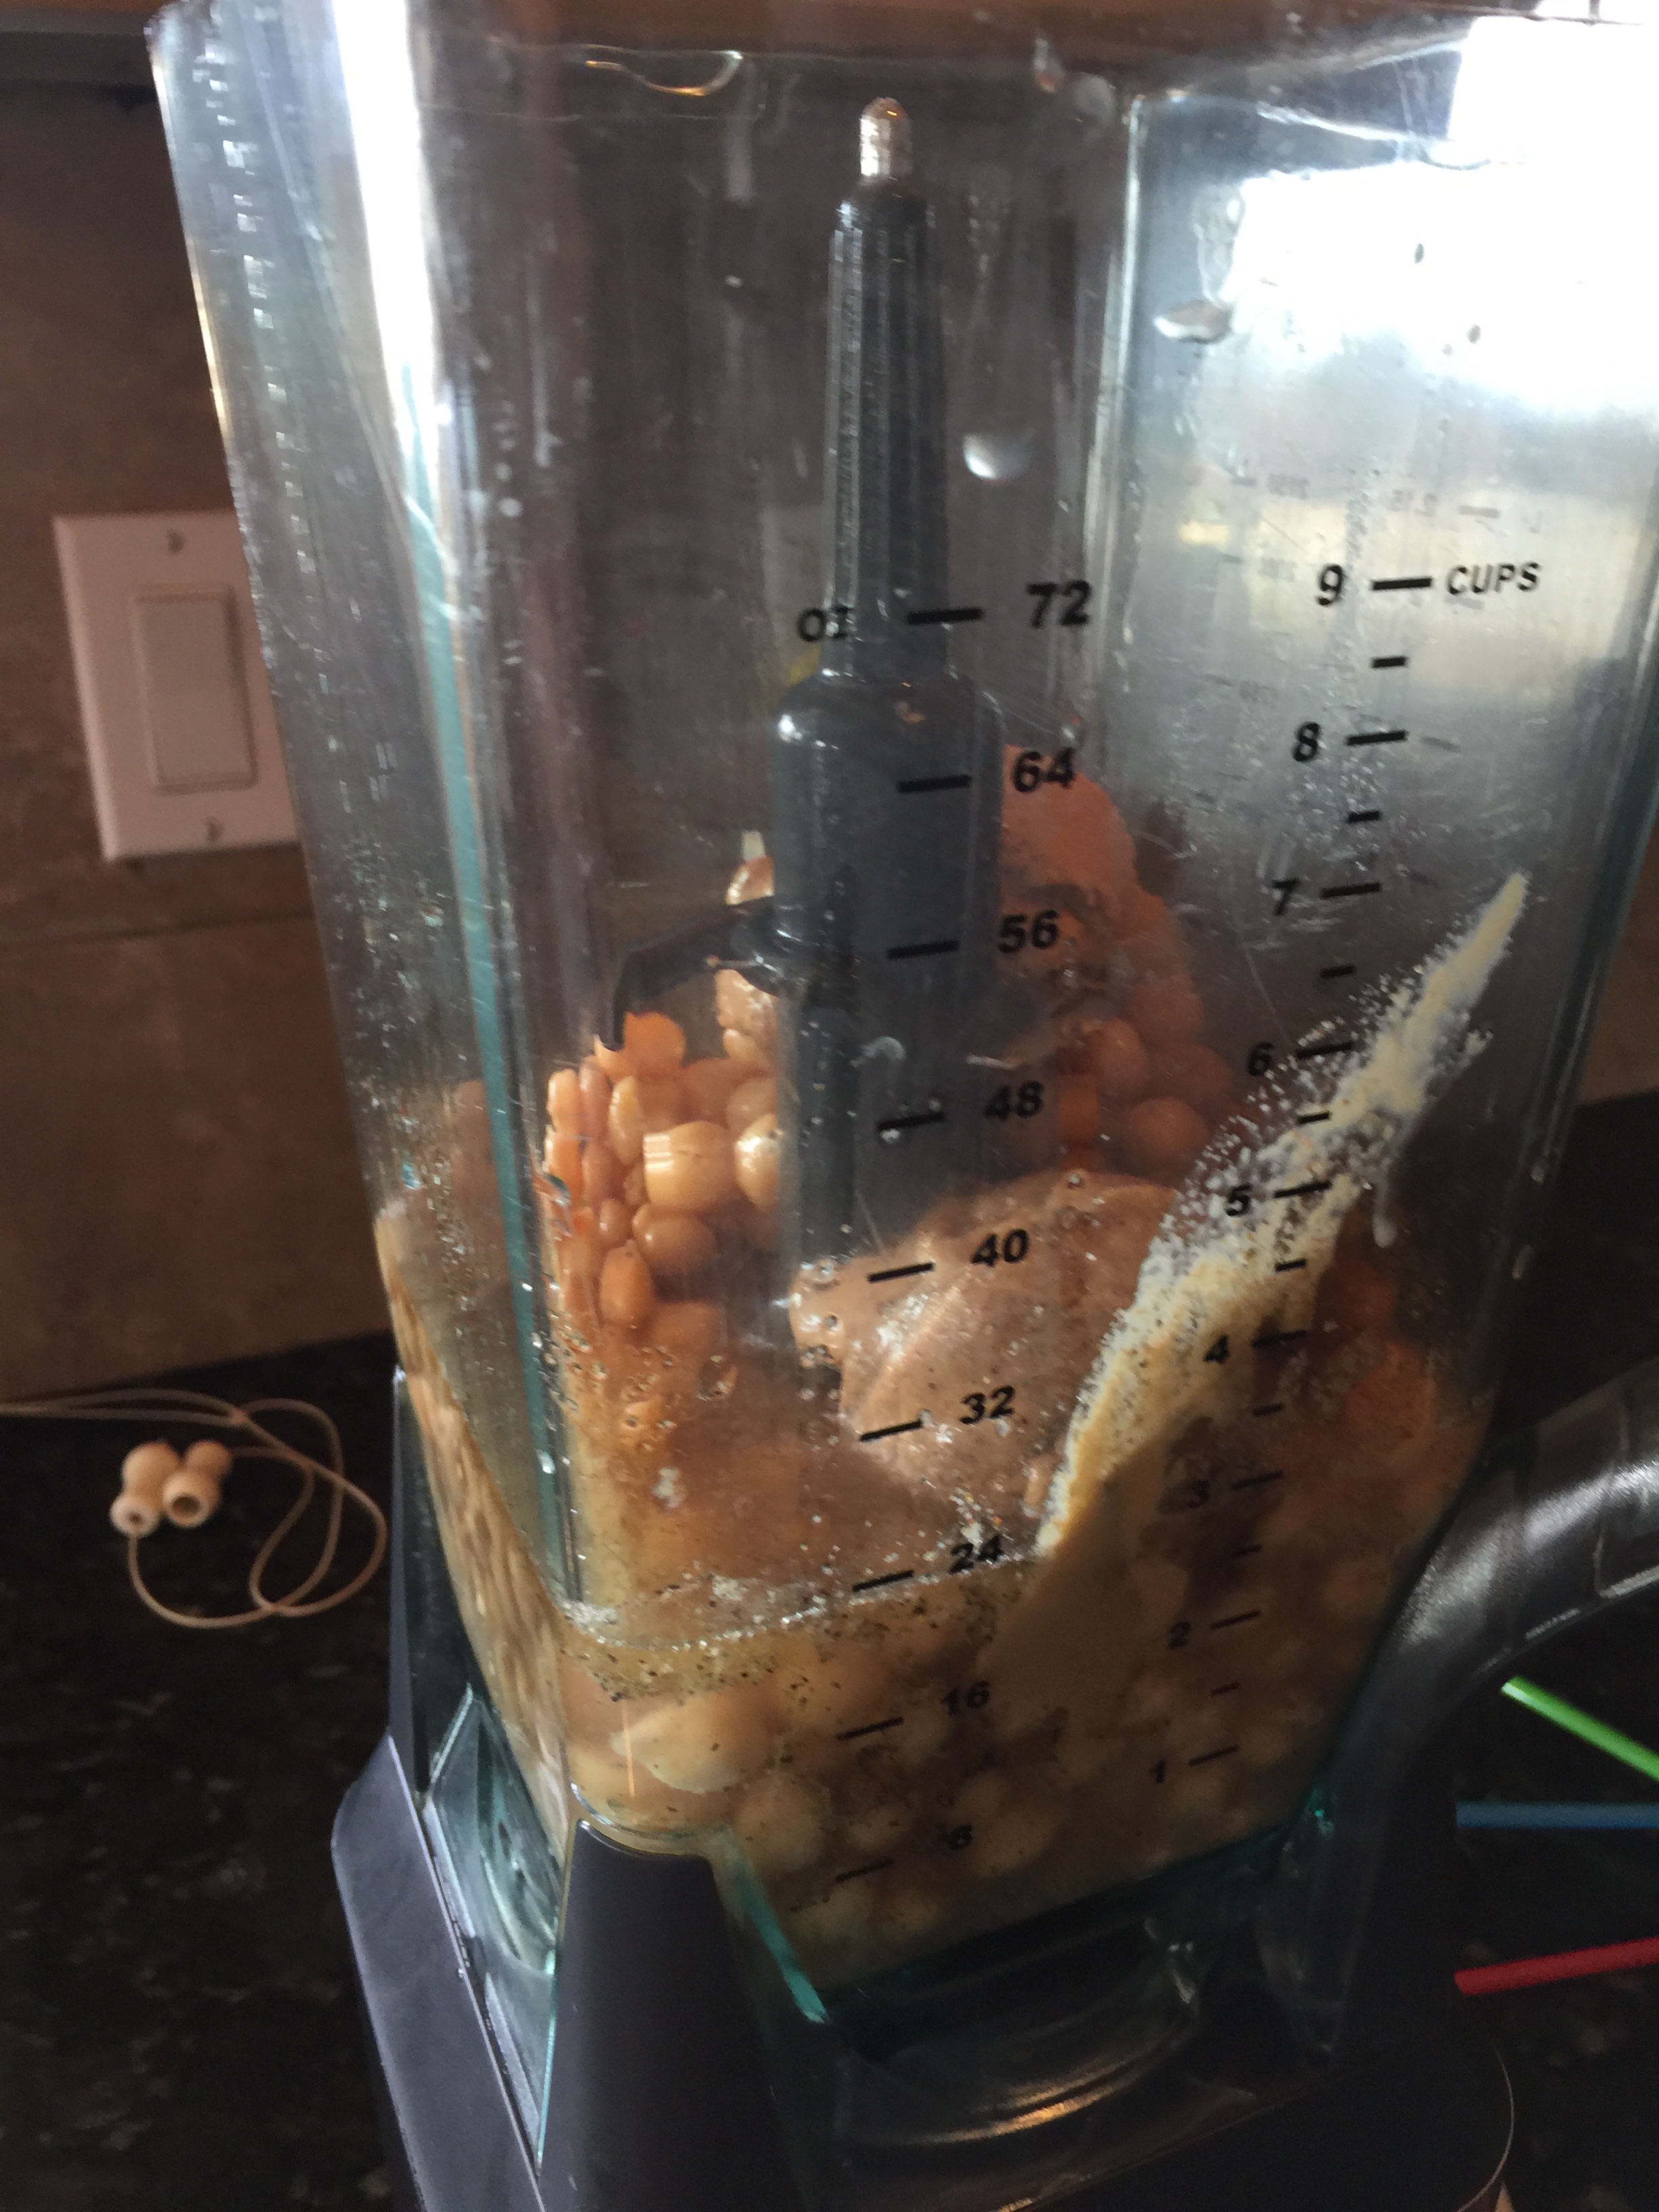
In a food processor, grind the sugar, almond paste, and 1/4 cup of the cake flour until the almond paste has mixed with the sugar to form a sand-like substance.

Screen Shot 2015-11-24 at 11.00.27 AM

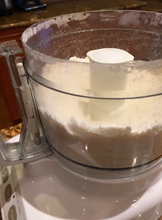
With the food processor running, add the cubes of butter one at a time. When the butter has been incorporated, add the vanilla and almond extracts.  Process until the batter is smooth and light.

Add the eggs one at a time, processing after each addition.

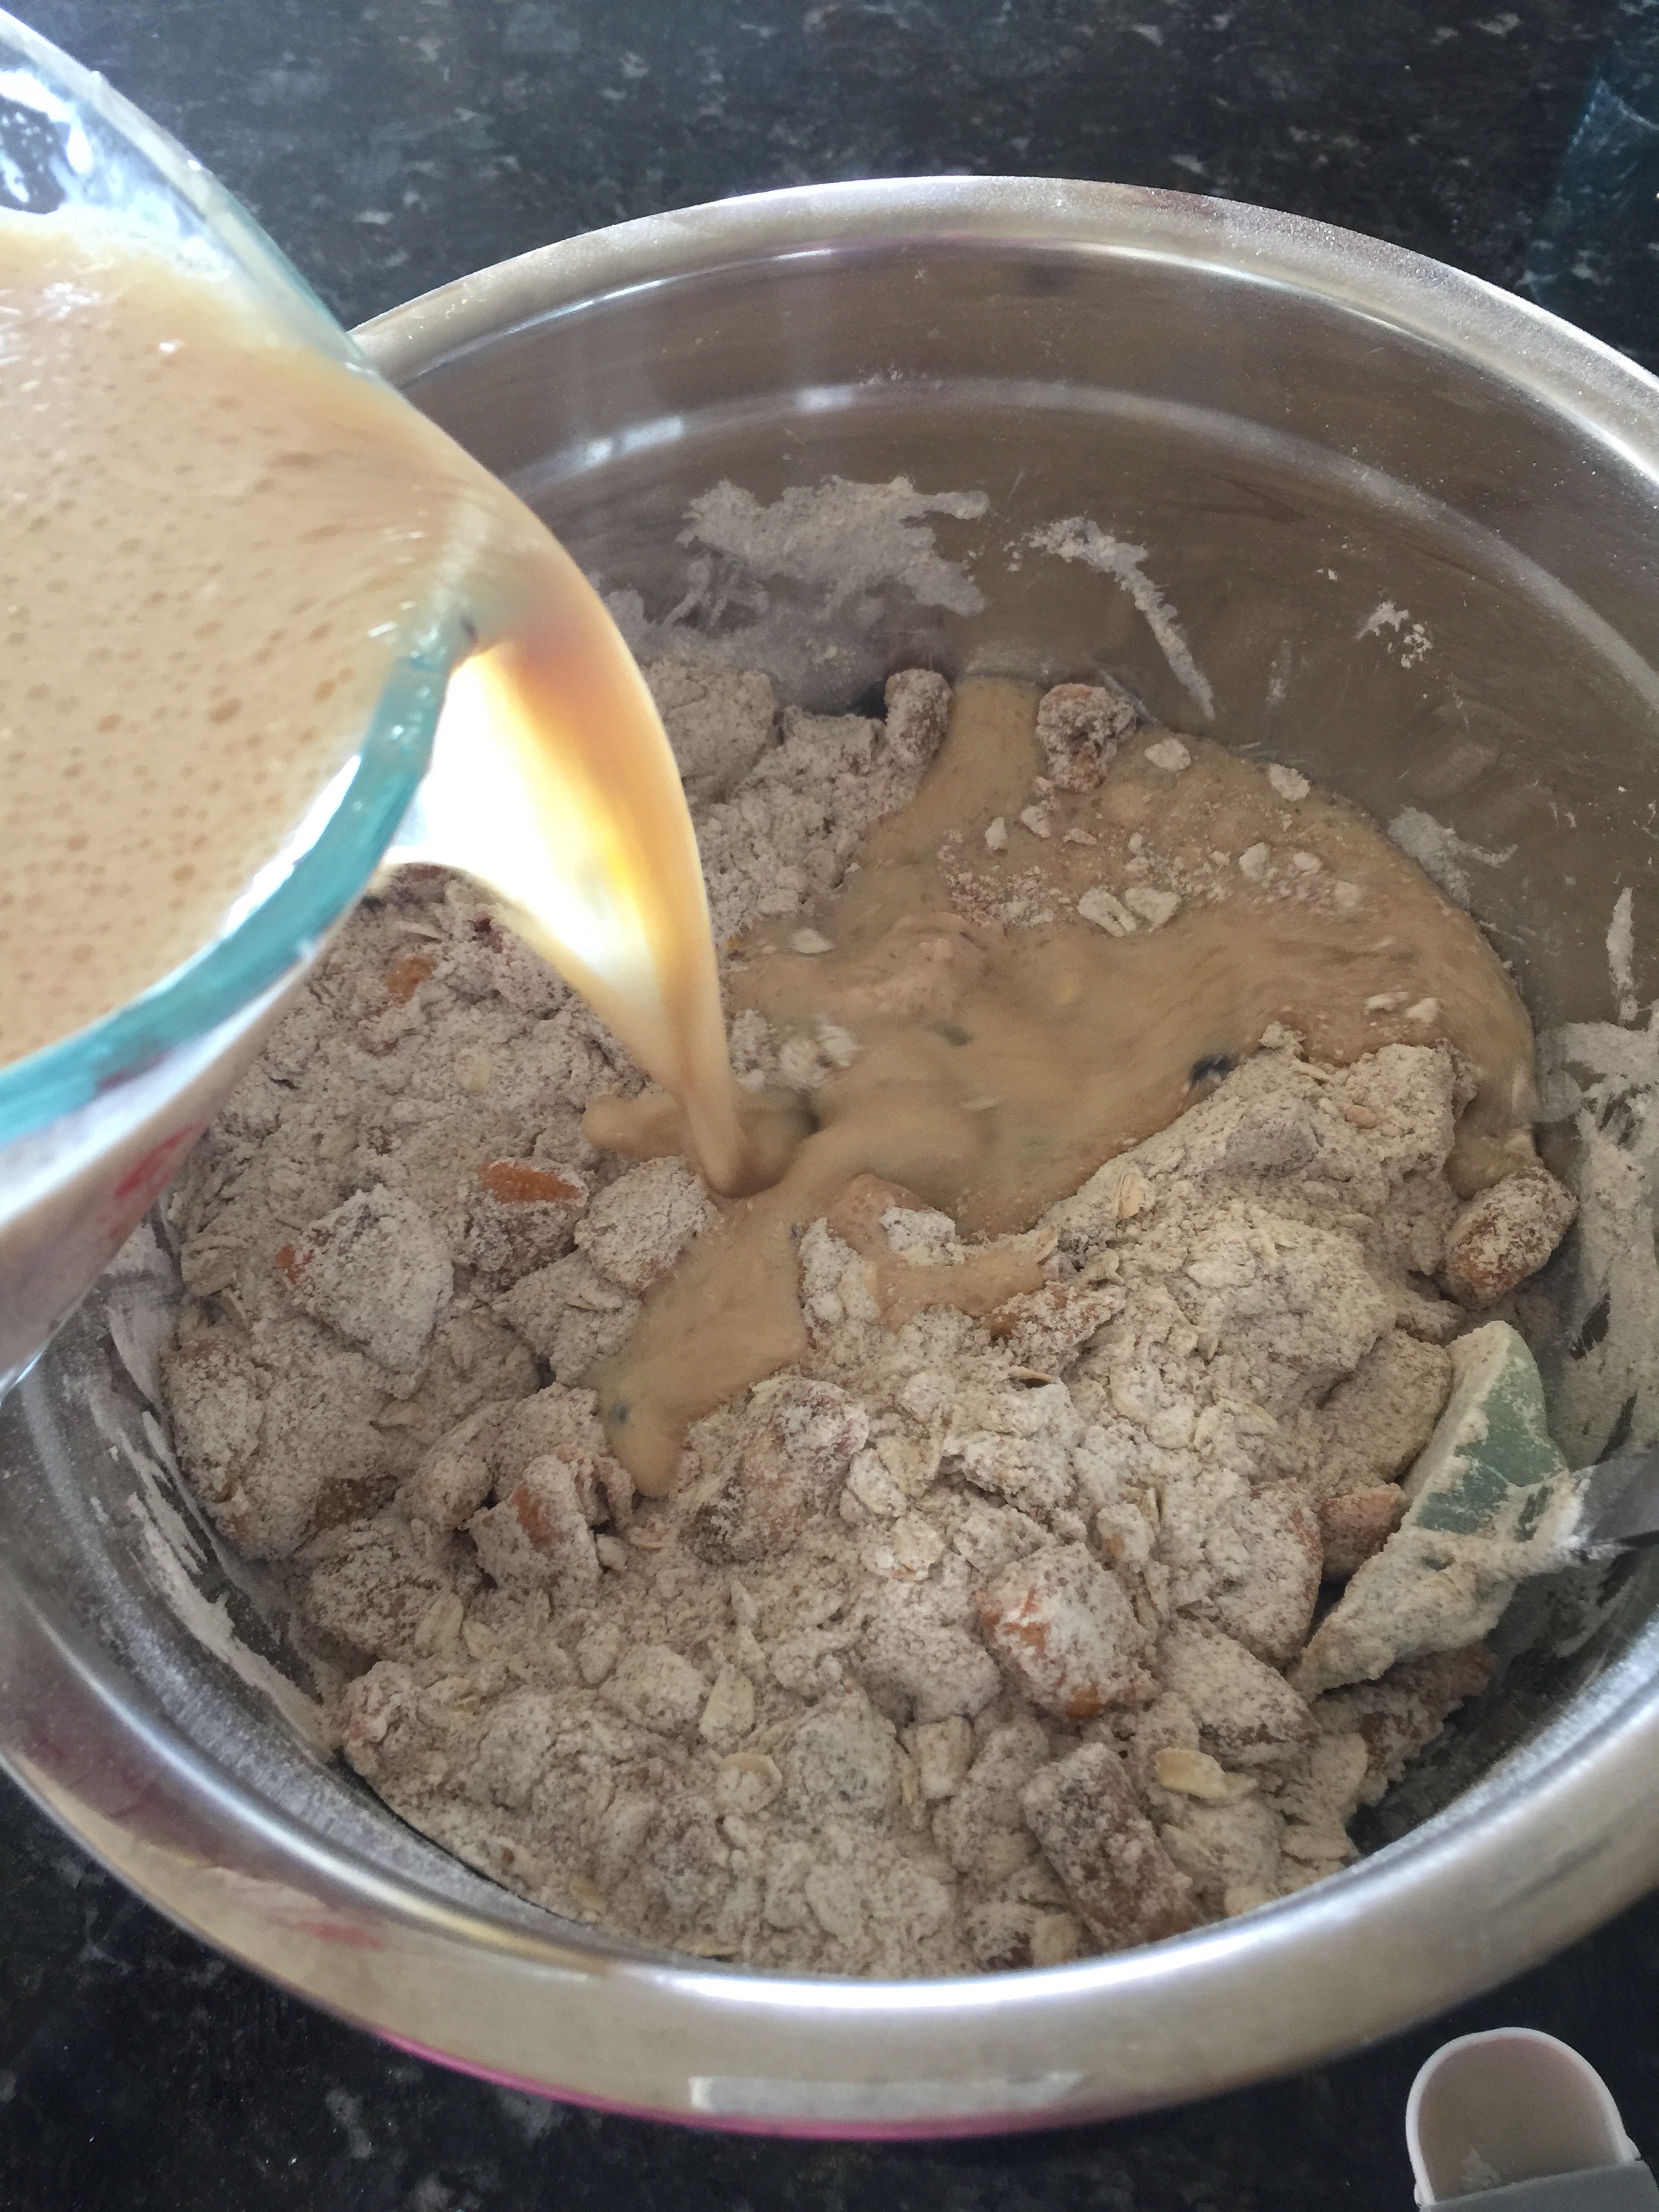
Add half of the dry ingredients and pulse a few times. Add the rest of the dry ingredients and pulse the machine until the dry mixture is just incorporated. The batter will be light, fluffy, and thin.

Pour the batter over the pears, then bake the cake in the center of the oven. Check it after 50 minutes, at which point in may look like an ominous white blob. Cook it until the top is nicely browned and the center is not too jiggly.  There was enough batter to fill two round 9 inch pans (mine overflowed in the oven).

Remove the cake from the oven and run a sharp knife around the perimeter of the pan to loosen it from the sides. Let the cake cool completely, then invert it onto a cake rack. Invert it once more if you want the pears at the bottom and the crackly, golden-brown side facing up. Dust it with confectioners sugar and enjoy.

Screen Shot 2015-11-24 at 11.01.35 AM

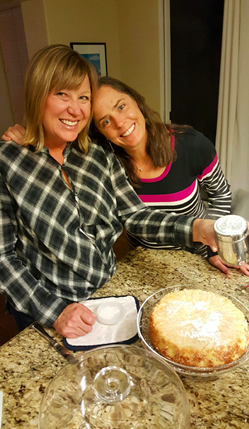
Lisa Jensen (above, left) is a psychologist in Louisville, Colorado. She is married to Carl and they have 3 outrageously fun kids.

This cake is a European love child, inspired both by David Lebovitz’s Almond Cake (in turn adapted from Chez Panisse Desserts by Lindsey Remolif Shere) and Mimi Thorisson’s Italian Pear Cake. (less) —Sarah Jampel   Food52.com

Tomato Soup and Grilled Cheese Equals Comfort

This post is part of the Food and Mood series.  Today’s guest author is Amanda Keefer. Welcome, Amanda!

Screen Shot 2015-11-23 at 2.14.39 PM

Tomato soup and grilled cheese is a classic, kid-friendly comfort food that many of us, including myself, relate back to cold winter days with family and friends. Even after moving away from the cold weather as an adult, the combo of tomato soup and grilled cheese still stir up a feeling of comfort for me. Now, I serve my own version of the duo to my family.

In this recipe I skip the sodium-packed canned soup and go for an easy, homemade version that’s packed with veggies! You can stir in 1 Tbsp. plain yogurt to each bowl for extra creaminess.

The mini grilled cheese sandwiches are perfect for little mouths and for dipping.

Now, As I share this recipe with my family, I feel a new sense of comfort knowing that I am passing along not only a taste, but a feeling for them to carry on to adulthood.

Want the full recipe? Check it out over at Produce for Kids.

Screen Shot 2015-11-23 at 2.19.46 PM

Cranberry Salsa Feels Like Being Home

This post is part of the Food and Mood series.  I am excited to welcome guest author, Rachael Teufel – cake artist extraordinaire.  Welcome, Rachael!

Thanksgiving is one of my favorite holidays. While there may be a little fuss with putting together a great meal, there’s no gifts to buy, cards to send, or candy laying around. It’s simply about spending time with family and giving thanks to all the wonderful people we love. Sadly, it’s not always possible to travel to be with family, so I have to bring our family to us in other ways. Making recipes that I would typically enjoy with them helps make me feel like I’m home for the holidays.

I thought I’d share one of my favorite holiday appetizers compliments of my Aunt Laura, fresh Cranberry Salsa. This is one of the most delicious salsas you’ll ever eat! It’s packed full of fresh fruits and vegetables and has a sweet, yet tangy flavor.

CRANBERRY SALSA

Screen Shot 2015-11-10 at 1.21.50 PM

1 bag (12oz) fresh or frozen cranberries (no need to thaw)
1 Granny Smith apple, peeled, cored and cut into eight pieces
1/2 large red pepper cut into large chunks
1/2 medium red onion cut into large chunks
3/4 cup sugar
1/3 cup apple juice
3 Tbsp chopped cilantro
2 Tbsp chopped pickled jalapeno pepper
1 tsp grated lime zest

Screen Shot 2015-11-10 at 1.21.58 PM
Place all ingredients into a large food processor and pulse until desired consistency is reached.  Serve with tortilla chips.  The lime tortilla chips go great with this salsa adding a little more zing to each bite.

Screen Shot 2015-11-10 at 1.22.13 PM

Screen Shot 2015-11-10 at 1.22.34 PM

Screen Shot 2015-11-10 at 1.27.39 PM

Rachael Teufel grew up baking in the kitchen with her Hungarian grandmother, but she didn’t discover her passion for cake decorating until later in life while seeking a creative outlet from her day job. She always had artistic interests, so cake decorating seemed like the perfect activity after a long day working as a Physical Therapist. Rachael began her passion for cake decorating in 2001 with a few Wilton classes and continued to educate herself by taking classes with top designers like Ron Ben-Israel, Colette Peters, and Marina Sousa. In 2006, she started her own company, Intricate Icings Cake Design, out of a commissary kitchen and eventually opened her own studio in 2009. After 6 years in her studio, Rachael opted to scale back her company to focus solely on custom designed, luxury wedding and event cakes, while continuing to share her cake knowledge in private classes and through online Craftsy classes.

Rachael’s work is now nationally recognized in both the wedding industry and the cake decorating community. Her work can be seen on episodes of Food Network Challenge as well as in the pages of magazines such as Brides, Martha Stewart Weddings, and The Knot. Rachael has been awarded several top honors including being named one of Martha Stewart Weddings’ top pastry pros in the country and Brides Magazine’s “Top 100 Bakeries”. Brides Magazine has also featured Rachael’s cakes in the “50 Most Beautiful Wedding Cakes” and “America’s Prettiest Wedding Cakes”.


Food and Mood

Welcome to my new blog series: Food and Mood!

We all know about comfort food, and it’s potential to cheer us up on a gloomy day, but in this series I will be exploring how food relates to all kinds of different moods.  When you’re happy do you crave pizza? Cantaloupe? When you’re worried do you reach for the steak?

Over the next couple months I will be welcoming guest bloggers who will share a recipe along with the mood that best represents it.  It’s going to be informative AND delicious!

I’m going to start things off today with a recipe that I like to make when I am feeling:

RELAXED

Here goes:

ZESTY CRACKERS

Ingredients:

Screen Shot 2015-10-28 at 1.11.07 PM

Ingredients: 2-3 sticks butter, Italian Seasoning, Seasoned salt, 3-4 sleeves saltines

Step 1: Preheat oven to 275 and melt butter in large pan on the stovetop

Step 2: Add seasonings

I added about 1 teaspoon of each seasoning.  That makes for some salty crackers! If you like less salt, adjust seasonings accordingly.

I added about 1 teaspoon of each seasoning. That makes for some salty crackers! If you like less salt, adjust seasonings accordingly.

Step 3: Whisk gently until combined

Screen Shot 2015-10-28 at 1.11.32 PM

Step 4: Carefully dunk crackers in butter mixture.  Some days I have especially tough fingers and can dunk them in with my bare hands.  Other days I need tongs.  Who knows how that works?! The crackers only need to be submerged for a couple seconds.  Longer than that and they absorb too much of the liquid.

Screen Shot 2015-10-28 at 1.11.40 PM

Step 5: Place crackers on cookie sheet in a single layer.

Screen Shot 2015-10-28 at 1.11.48 PM

Step 6: Bake for 20-25 minutes, or until golden

Screen Shot 2015-10-28 at 1.11.56 PM

Step 7: Enjoy! These little treats are addictive, so beware! I usually store them in a ziploc bag or tupperware in the pantry.  I haven’t experimented with other seasonings, but I bet cinnamon and sugar would be delicious too!

Happy eating and stay tuned for the next post in the Food and Mood series!

Recipe adapted from The Pioneer Woman.

Making the Healthy Choice the Easy Choice

I recently wrote an article for the fantastic non-profit organization LiveWell Colorado.  If you are not familiar with them, take a look:

LiveWell Colorado

The article I contributed was about making healthy choices easy.  Here’s a bit of it:

We all know what we should do: eat more fruits and veggies; drink more water and less soda; move our bodies more and look at screens less.  The challenge is putting this knowledge into action and making healthy choices each day.

So, how do we make the healthy choices the easy ones?

Give yourself a chance.  If there is cake in my house I will eat it.  All of it. I know it’s not healthy, but cake and I have a serious love affair going on.  It’s not possible to say no if frosting is anywhere near me, so instead I keep it far away (except on special occasions, of course). We all have foods that call to us, so why keep them nearby?  To give yourself the best chance of making healthy choices, minimize the unhealthy options in your pantry.

For more ideas about making healthy choices easy, check out the rest of the article here.

Healthy Pancakes for the Holidays

We have 3 days to go until Christmas and I am already on junk food/sugar cookie/artichoke dip overload.  So when my kids had a sleepover this weekend, I couldn’t bear to consume one more sugary, unhealthy meal.  Luckily these girls were game for a breakfast that didn’t come in a box, so we headed over to the Produce for Kids website and chose these Nutty Apple Pancakes.

I’m a big pancake fan, and we already had most of the ingredients so we gave it a go.

Here’s how it went:

Mixing the dry ingredients

Mixing the dry ingredients

Eggs!

Eggs!

Putting is all together

Putting it all together

This recipe was great because it included some new, unique flavors.

This recipe was great because it included some new, unique flavors – and doesn’t it look pretty?

Good to the last bite!

Good to the last bite!

Nutty Apple Pancakes were a big hit with this crew.  Check out the recipe here.  To learn more about Produce for Kids, or to find more of their kid-friendly, delicious and healthy recipes check out their website.

10 Thumbs Up!

10 Thumbs Up!


Do you need some last minute ideas for holiday snacks? Looks at these!

PFK