This is a guest post in the series CREATE Mental Health. All week we will be exploring how different people use creativity to create and maintain mental health. Today’s post is by Tamara Miles. Tamara is the owner of Beaded Essence, an on-line boutique specializing in unique, handmade jewelry and more. Welcome, Tamara!

I love to make jewelry because it is a good way to be creative without taking a ton of time, and you get great results. In 15 minutes, I am able to make an adorable little girl’s bracelet that can be worn for a Baptism, 1st Communion, Easter, or really any occasion. It is also nice just to be able to make something for your little girl that you can feel proud of, knowing that you took the time to make it, and didn’t have to spend the time trying to find one at a store.
These bracelets can be made with sterling silver or 14K gold filled beads. You can also use different colors of pearls and crystals if you like; however, for religious occasions, the white pearls and clear crystals seem to look the best.
Here is what you need (cost around $10):
(The number of beads may change depending on the size you want to make, keeping in mind that the extender chain will allow for a lot of leeway in sizing.)


- 7 inches of Wire-I like to use Beadalon: 49 strand-bright
- 2 Crimp tubes:Â 2mm in sterling silver or 14K gold filled
- 2 Crimp covers:Â 3mm in sterling silver or 14K gold filled
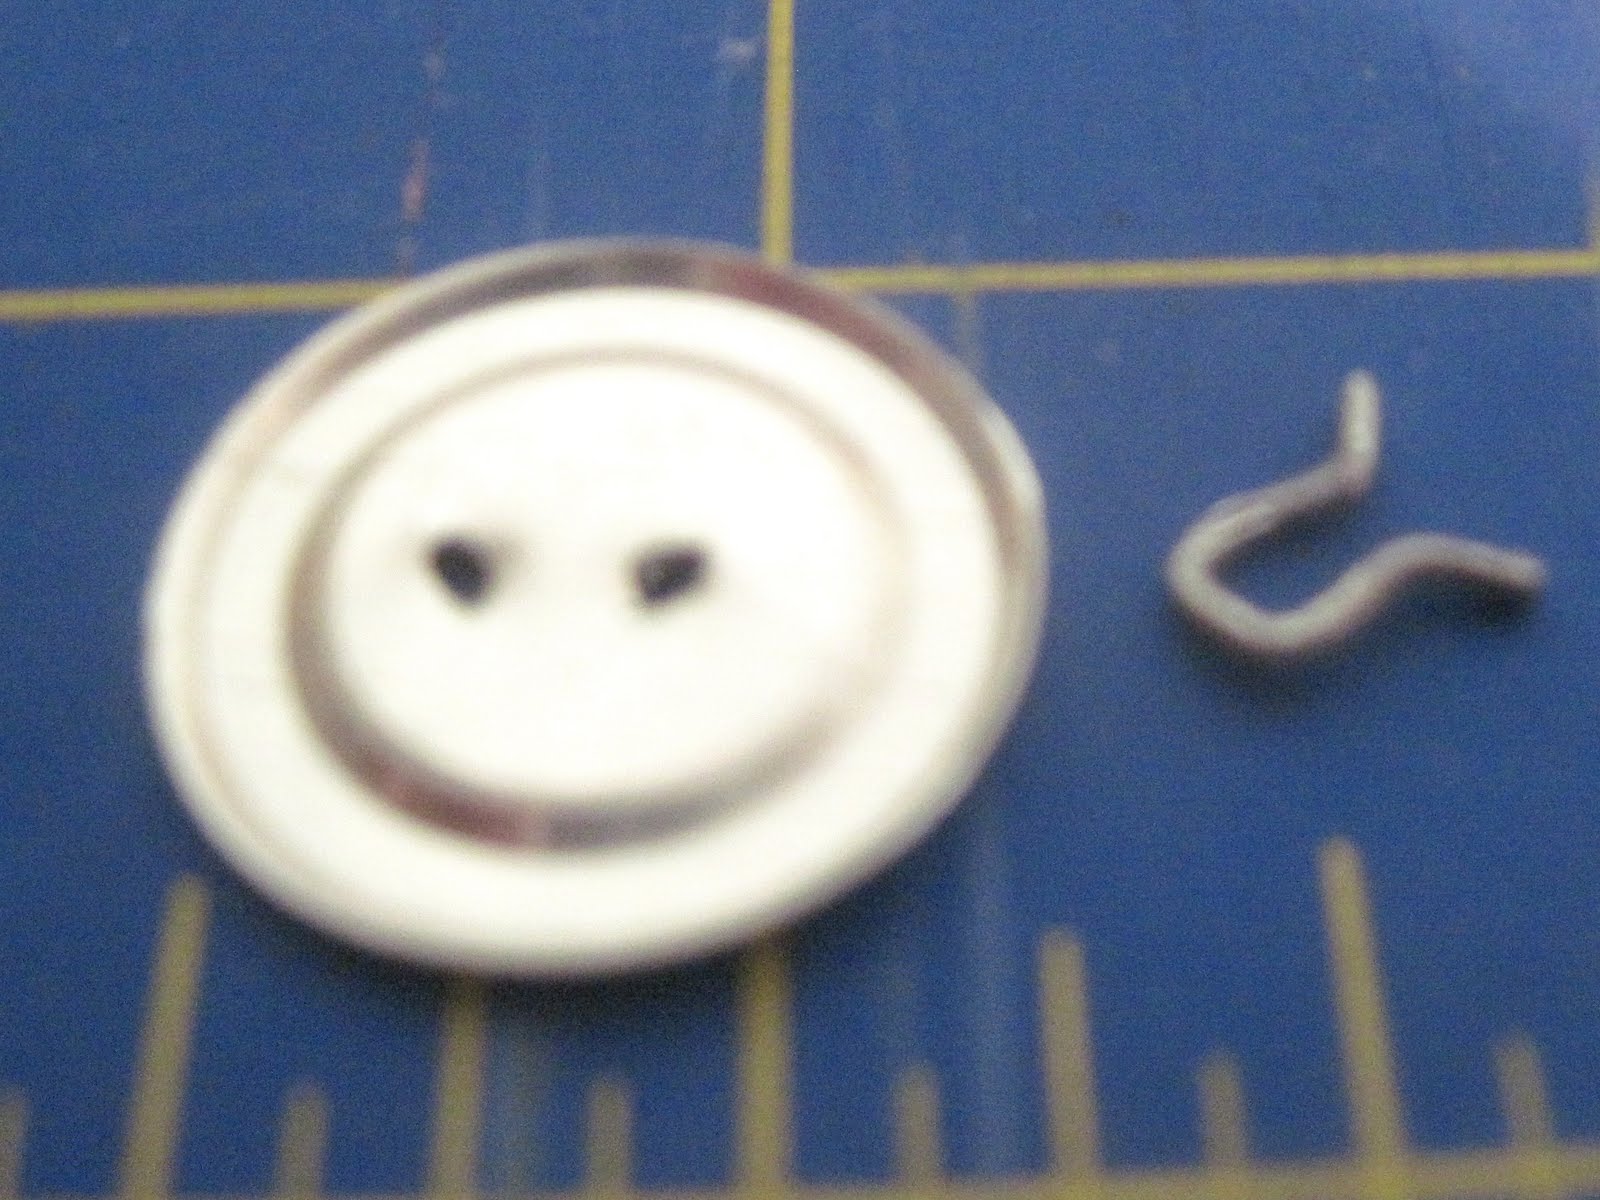
- 1 Lobster clasp:Â 9mm or so in size, either in sterling silver or 14K gold filled
- 1 Extender chain:Â 2 inches in sterling silver or 14K gold filled
- 10 Swarovski crystal pearls:Â white or color
- 4 Swarovski crystals:Â clear in color
- 15 Metal balls:Â 4 mm in size-sterling silver or 14K gold filled
- 8 Daisy spacers:Â 4mm in size-bright sterling silver or 14K gold filled
- 1Â charm:Â small in size in either sterling silver or 14K gold filled
Here are the tools you will need:
- Jewelry Crimper-for 2mm crimps (approximately $10 depending on quality, etc…)
- Jewelry Wire Cutter-(also around $10 depending on quality, etc…)


- Spring-to hold beads on the wire-(very inexpensive)


- Jewelry glue-(approximately $4.50 per tube)

- Bead tray-if you have one:Â or you can use felt on a plate

Instructions:
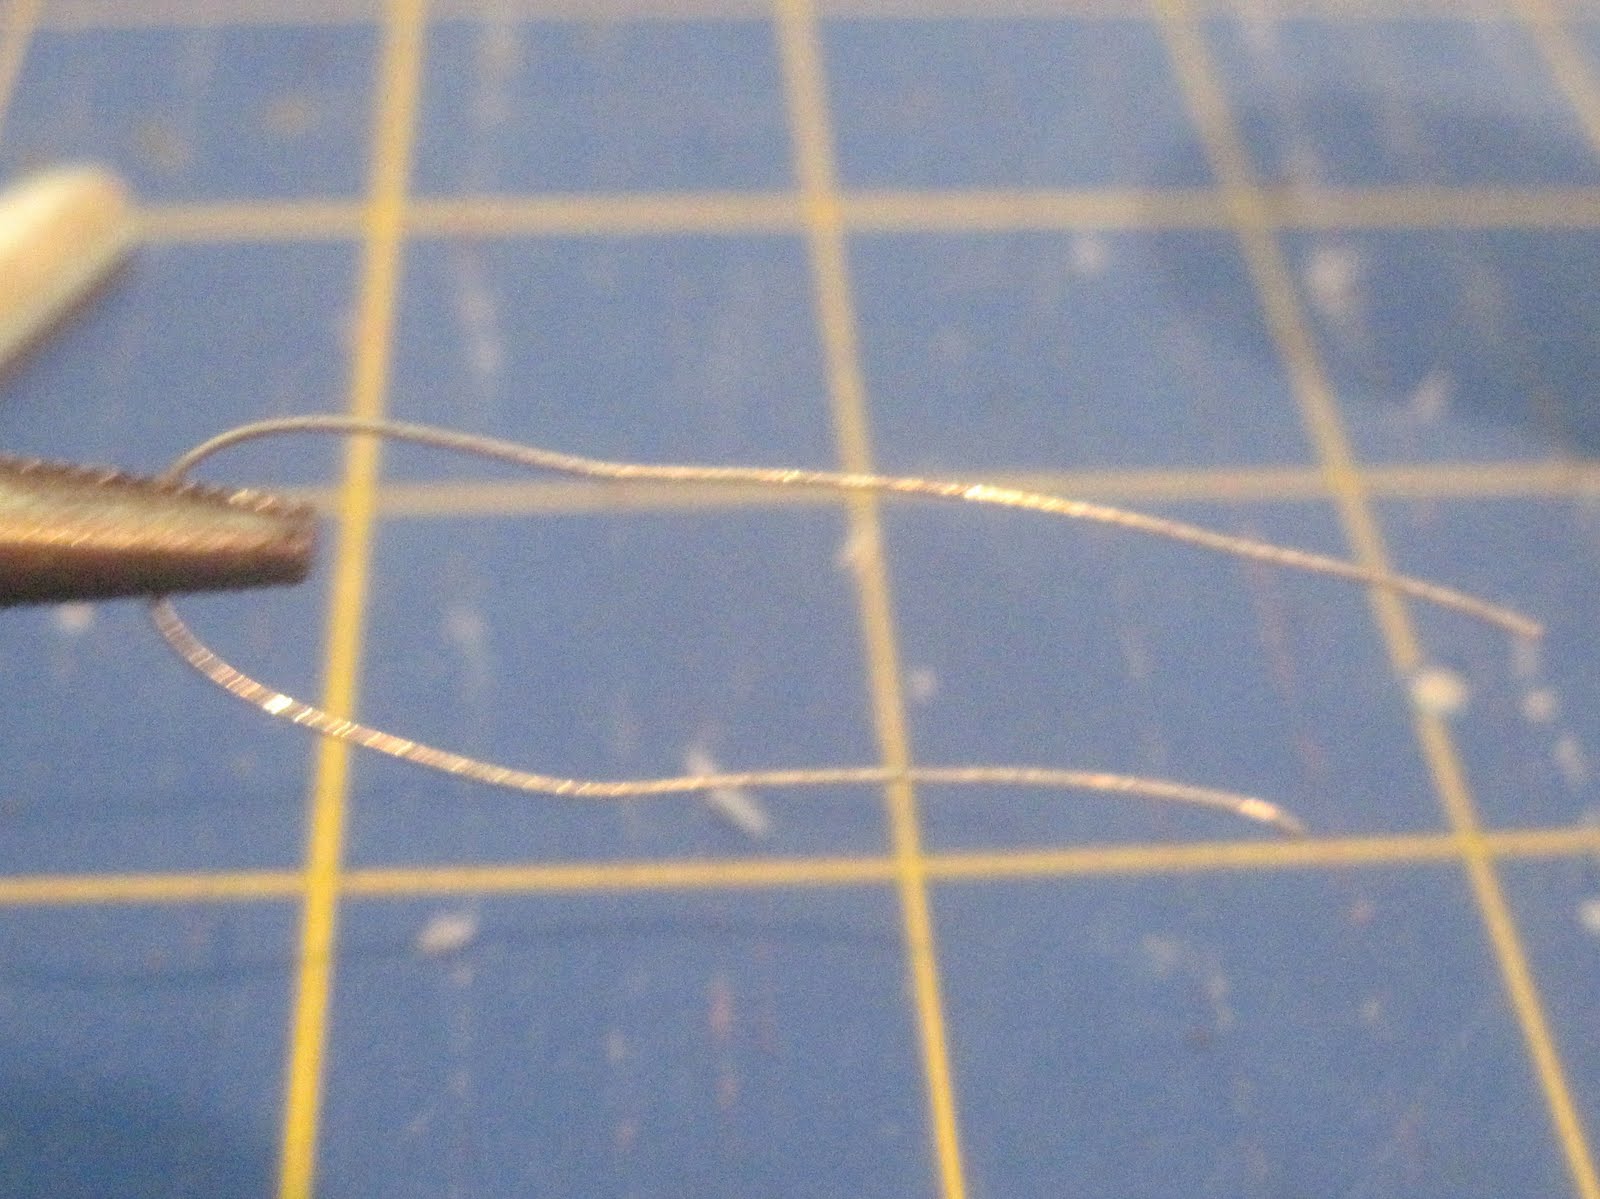
- Put wire through crimp tube and then through hole on lobster clasp, and then back through crimp tube.

- Crimp the tube together by using the inner half-moon shaped crimp on the inner part of the crimp tube. Then use the outer crimp of the tool to squeeze the tube together. It should look like a flat tube with a crease on one side.

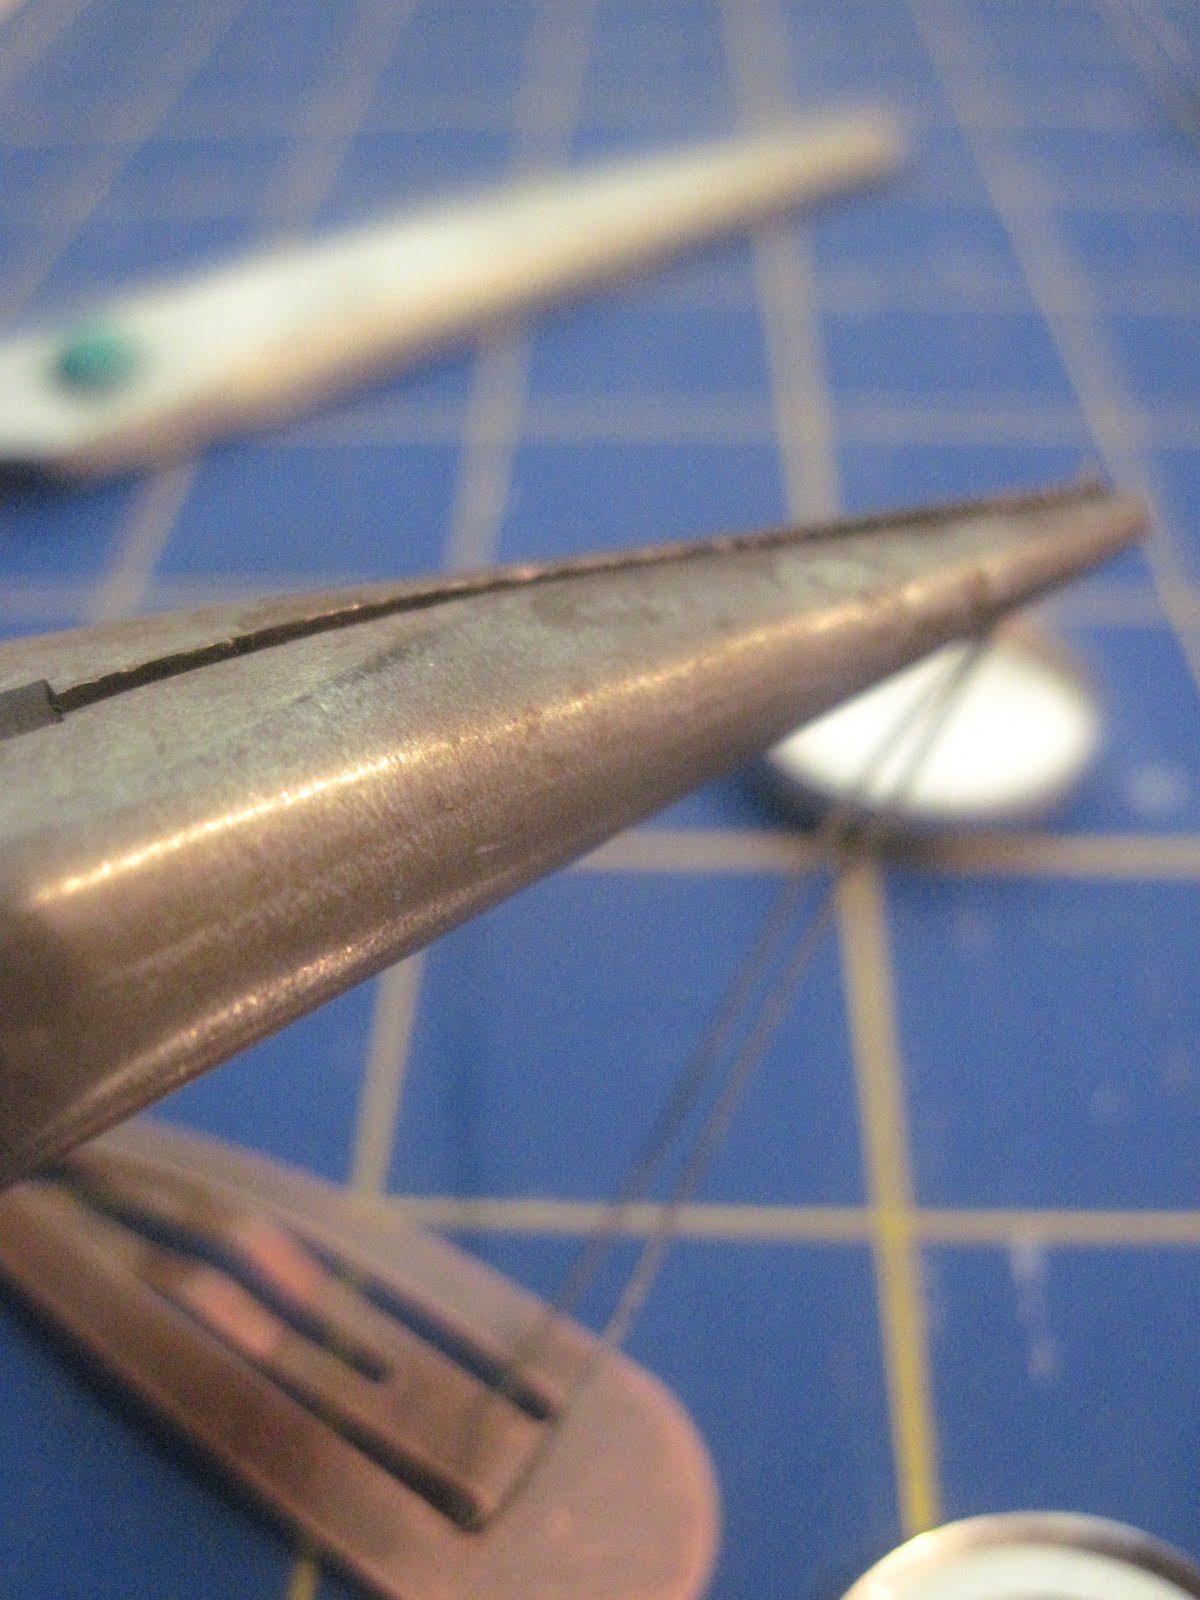
- Cut the extra wire, and put a touch of glue on the crimp.

- Place a crimp cover over the crimp. Then use the outer crimp of the crimp tool, and carefully squeeze the crimp cover together so that it looks like a round bead. (be very gentle when doing this as sterling silver is very easy to bend too much)

- Now start adding all of the beads in the pattern on the picture. You can lengthen the bracelet by adding more sterling or gold-filled beads at each end.

- Take the extender chain, and put the wire from your bracelet through a crimp tube, then through the extender chain, and then back through the crimp tube (just like when doing the lobster clasp at the beginning). Pull the wire tight so that the crimp tube is close to the extender chain and there is no wire to be seen at the end of the beads. Crimp as in step 2 above.

- Follow steps 3 and 4 above to finish the crimp on the end of the bracelet.
You are finished, and you have a beautiful bracelet that a little girl will love!